
Table of Contents
- Why Outdoor Space Visualization and Reliable Equipment Both Decide Project Success
- Visualization and Equipment Compared: A Side-by-Side Breakdown
- What the Best Outdoor Design Visualization Software Actually Delivers
- How to Choose Durable Outdoor Kitchen Appliances That Last
- The Outdoor Living Project Planning Checklist for Coastal Conditions
- Where Visualization and Reliability Meet: Real Product Choices
- Cost, ROI, and Long-Term Maintenance: What Each Investment Returns
- Conclusion: Build the Plan and the System Together
- Frequently Asked Questions
Last Updated: October 2, 2026
Why Outdoor Space Visualization and Reliable Equipment Both Decide Project Success
Outdoor space visualization is the practice of rendering a backyard design in realistic 3D before any concrete is poured, and it has become the single most effective way to prevent expensive mid-build changes.
Coastal Orange County backyards face salt air, marine layer moisture, and intense UV, conditions that punish cheap stainless steel and unfinished metal. A rendering that ignores material reality sets up a disappointing build, and a premium grill dropped into an unplanned layout wastes its potential.
Visualization and Equipment Compared: A Side-by-Side Breakdown
The short answer: visualization reduces decision risk before construction, while reliable equipment reduces ownership risk after it. The strongest projects budget for both.
What Each Approach Solves
Outdoor space visualization solves the "I can't picture it" problem. Clients approve layouts, tile selections, and appliance placement with confidence instead of guessing, and conflicts surface early, a fire feature blocking sightlines, a grill too close to a seating wall. Reliable equipment solves the "it broke in year three" problem: a powder-coated island or marine-grade stainless grill built for coastal exposure keeps performing long after the design's novelty wears off.
Where Each One Falls Short
Visualization cannot fix a bad product choice, and equipment alone cannot fix a poor layout, no matter how good the components are.
| Factor | Visualization | Reliable Equipment |
|---|---|---|
| Solves | Layout and approval risk | Long-term performance risk |
| Timing | Before breaking ground | Before and after install |
| Failure mode | Pretty render, wrong materials | Great gear, awkward layout |
| Best paired with | Real product specs | A finalized plan |
What the Best Outdoor Design Visualization Software Actually Delivers
The best outdoor design visualization software delivers accurate 3D modeling, real material and finish options, and renderings detailed enough to guide a contractor's build. It is a planning tool, not a sales gimmick, and the more useful question is not what it renders, but what it prevents.
What Separates Planning Software from a Pretty Picture
What separates useful software from a pretty picture is whether the render reflects real dimensions and actual products. A rendering that shows a 42-inch grill in a space built for a 36-inch unit creates the exact problem visualization was supposed to prevent.
Four capabilities matter most:
- True dimensions and clearances. The model should reflect the actual footprint of the specified appliance, including lid-open height, side clearance to combustibles, and counter overhang.
- Real material and finish libraries. Tile, countertop, powder-coat color, and stone should be shown as they will arrive, not as a generic swatch.
- Product-level specification. The render should be tied to a specific model, not a placeholder box. If the client approves a layout, the approved layout should name the unit.
- Revision speed. A design that takes a week to revise will not get revised. The value of visualization is in the iteration, not the final image.
If any of those is missing, the rendering is decoration, not planning.
How Visualization Prevents Hardware Failure
Visualization is not just a client-approval tool, it is a specification tool, and specification is where long-term equipment performance is decided.
- Clearance errors get caught on screen. A grill too close to a wall, a fire feature too near a seating wall, a refrigerator with no ventilation path, these shorten equipment life. In a render they are visible; on a job site they are often discovered after the island is framed.
- Utility runs get planned before the slab. Gas, electrical, and water runs are easier to route when the layout is fixed. A grill stuck on the wrong side of the island because the gas line was already stubbed gets operated in a compromised position, or replaced with a smaller unit.
- Service access gets designed in. Equipment pads, valve access panels, and cleanout locations should appear in the model. If they do not, they get buried, and buried equipment does not get maintained.
- The specified product matches the delivered product. When the render is tied to a real model number, the client approves the unit that ships. When it is tied to a placeholder, the client approves a shape, and the substitution that follows is where durability gets traded away.
- Material reality gets surfaced early. Coastal exposure punishes thin stainless, bolted seams, and unfinished metal. A rendering that shows the actual finish, and a showroom that lets the client touch it, makes the material conversation happen before the order, not after the first rust bloom.
That is the bridge between visualization and reliability: the rendering locks in the conditions that let the equipment last.
What to Ask Before You Approve a Render
When evaluating any visualization approach, ask:
- Does the model use true dimensions and clearances?
- Are finishes and materials shown as they will be installed?
- Is each major component tied to a specific model number?
- Are utility runs and service access shown, not just the finished surface?
- Can the design be revised without starting over?
If the answer to any of these is no, the rendering will not protect the equipment it depicts. This is also where a showroom with physical products and design support beats software alone: you can match the digital model to what actually ships and confirm finish and construction details in person.
How to Choose Durable Outdoor Kitchen Appliances That Last
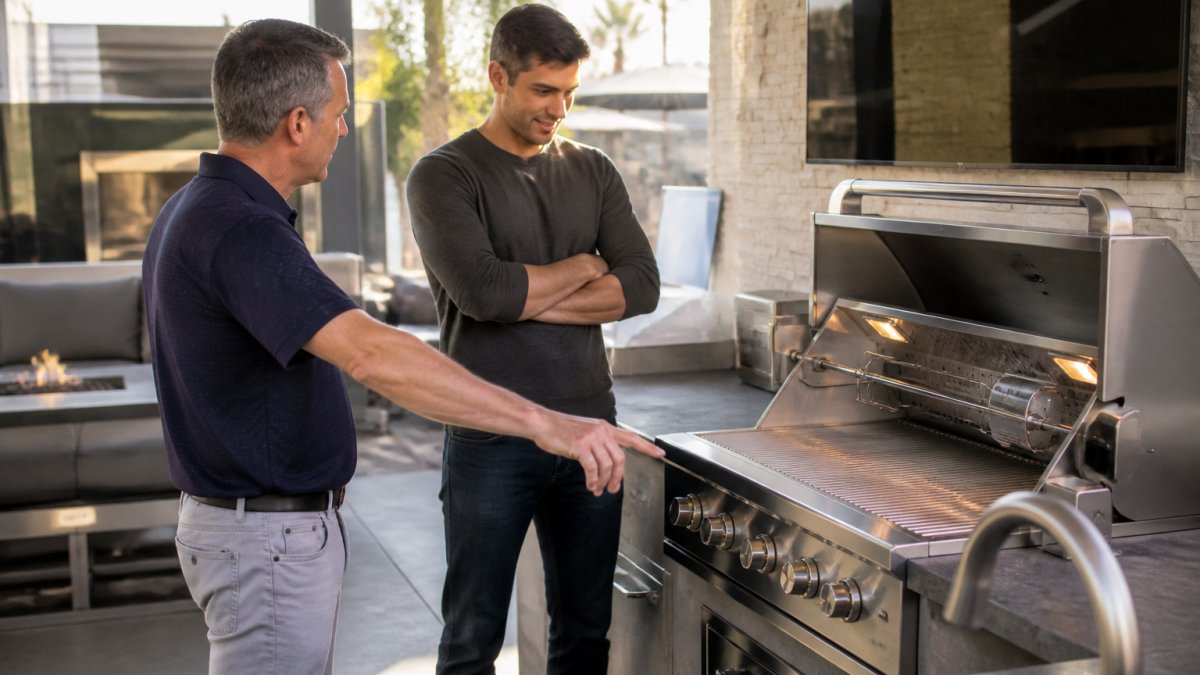
Choosing durable outdoor kitchen appliances comes down to material grade, construction method, and how well the unit handles your local climate. In coastal Southern California, that means prioritizing corrosion resistance above almost everything else.
Look for 304 stainless steel in the body and control panel, welded rather than bolted seams, and internal components rated for outdoor exposure. The Wildfire Ranch Pro Black Stainless Steel Cart Mount Gas Grill - 36" is a good example: a black 304 stainless steel control panel, a seamlessly welded lid, three cast stainless steel burners, 58,000 BTUs, and an 833-square-inch cooking surface.
The Outdoor Living Project Planning Checklist for Coastal Conditions
An outdoor living project planning checklist for coastal conditions should cover layout, materials, utilities, and long-term maintenance before a single permit is filed.
- Confirm true dimensions and usable square footage
- Map gas, electrical, and water runs before design sign-off
- Select corrosion-resistant materials rated for salt air
- Verify appliance clearances to walls, seating, and fire features
- Plan shade, heating, and lighting for year-round use
- Define a maintenance schedule for finishes and equipment
- Align the rendering with the actual products specified
- Confirm who coordinates trades across the build
This checklist is where visualization and equipment decisions converge. Each line item is easier to resolve when you can see the space and touch the products.
Where Visualization and Reliability Meet: Real Product Choices
Real product choices are where a plan becomes a backyard. A complete island package lets you see the finished layout while locking in reliable components.
112" Maestro - L - B - Complete BBQ Island - Powder Coat - Includes Gran Fuego →
The 112" Luxe - I - Complete BBQ Island pairs a Gran Fuego 36" four-burner grill with a 4.5 cu ft fridge and an outdoor sink in one powder-coated unit.
For fire features, the 72" Williams Outdoor Fireplace in white powder-coated metal with low-voltage electronic ignition shows how finish and function can be specified together.
Cost, ROI, and Long-Term Maintenance: What Each Investment Returns
Most comparisons treat visualization and reliable equipment as two separate budgets competing for the same dollars. In practice, they are two stages of the same cost curve, and what you spend on one directly changes what you spend on the other.
The Two Cost Curves
Every outdoor project carries two cost curves that move in opposite directions.
The decision cost curve peaks before construction.
The ownership cost curve peaks years after construction, made up of replacement cycles, service calls, refinishing, and the slow corrosion that eats cheap stainless in coastal air.
The two curves are linked. A layout that ignores real product dimensions pushes a client toward whatever fits, not whatever lasts.
A Maintenance Cost Model You Can Actually Use
You do not need a spreadsheet, just four inputs per major component (grill, refrigerator, fire feature, automation panel, lighting, water feature).
- Expected service life. How many years before replacement or major rebuild? Ask the manufacturer or your builder for the realistic range, not the marketing number.
- Annual service events. How often does the unit need cleaning, adjustment, or repair in your climate? Coastal exposure typically shortens the interval.
- Replacement cost. What does it cost to swap the unit, including any island or counter modification required to fit a different size?
- Downtime cost. If the grill is out for two weeks in July, what does that mean for how the space gets used?
Run those four numbers for a budget component and a premium component side by side. In most coastal projects, the premium unit has a longer service life, fewer annual service events, and a lower chance of forcing an island modification at replacement.
Where Visualization Changes the Math
Visualization does not just reduce change orders, it changes which equipment you can confidently specify.
The same logic applies to fire features, lighting runs, and pool equipment pads. A rendering that shows the equipment pad in relation to the rest of the yard surfaces service-access problems before the pad is poured. A pad that is easy to service gets serviced; one buried behind a planter does not.
What This Means for Budget Allocation
Visualization and reliable equipment are not competing line items. They are two ends of the same cost curve, and the maintenance model is what connects them.
Conclusion: Build the Plan and the System Together
The hardest part of any outdoor project is committing to a design and equipment list you cannot fully see yet. Bellafina Outdoors helps close that gap by combining realistic design visualization with a curated showroom of premium outdoor products, so the plan and the products are chosen together. Our design and visualization services let you approve a layout with confidence, while our dedicated contractor support keeps product selection aligned with what gets built.
Frequently Asked Questions
Why is 3D visualization important for outdoor living projects?
Outdoor space visualization lets you see proportions, sightlines, and material combinations before any concrete is poured. A rendering shows whether a 134-inch island crowds a patio or whether a fireplace anchors the seating area correctly. It also gives contractors and designers a shared reference point, which reduces mid-build changes. The goal is not a prettier picture, it is fewer expensive surprises once construction starts.
How do I ensure the long-term performance of outdoor kitchen equipment?
Start with materials rated for coastal air, then plan for service access. Powder-coated metal and 304 stainless steel hold up better near salt air than untreated finishes. Choose equipment with published specifications, such as burner output and cooking surface, so you can compare honestly. Finally, build a maintenance protocol into your outdoor living project planning checklist: seasonal cleaning, cover use, and inspection of ignition systems and gas connections.
Should I prioritize design visualization or material durability when planning a backyard?
You do not have to pick one. Visualization decides whether the layout works; durability decides whether it still works in year ten. A rendering confirms the island fits and the grill placement makes sense. Material and equipment choices confirm the grill, refrigerator, and fireplace survive coastal weather. Treat visualization as the planning stage and durability as the specification stage. Skipping either one usually costs more later.
What are the benefits of using professional design software for backyard renovations?
Professional tools produce accurate spatial planning, realistic material rendering, and views from multiple angles, which helps everyone agree before construction. They also support design iteration, so moving a fire feature or resizing an island takes minutes instead of a change order. For trade professionals, that means faster client presentations and fewer revision cycles. For homeowners, it means confidence that the finished space matches what was approved.
How does high-quality equipment impact the lifespan of an outdoor space?
Equipment often sets the practical lifespan of the whole build. A grill with thick cast stainless burners and a welded lid resists weather and heat cycling better than thin alternatives. A fireplace with low-voltage electronic ignition avoids the manual lighting problems that shorten usable life. When the appliances outlast the finishes, you replace less and keep the layout you already invested in.